Sunday, September 29, 2013

HSF Challenge #20: Outerwear, 18th Century Cloak for Acadian costume

 
So my mother-in-law is super into her Acadian heritage.  A couple of years back, she asked for and received an Acadian peasant woman's costume for Christmas. 
 
A little background on the Acadians:
The Acadians are the descendants of the 17th century French colonists who settled in Acadia, a colony of New France located in what is now Eastern Canada's Maritime provinces (Nova Scotia, New Brunswick, and Prince Edward Island), as well as bits of what is now Maine, US. During the French and Indian War (the North American spill over of the Seven Years' War in Europe), British officers carried out the Great Expulsion of 1755-1763, deporting over 11,000 Acadians. While nearly a third of those displaced died of disease or drowning, a large portion were shipped back to France and others down into Louisiana, where they became known as the Cajuns. Later on, many Acadians returned to the Maritime region and it is from those who settled into Nova Scotia that my in-laws are descended.
 
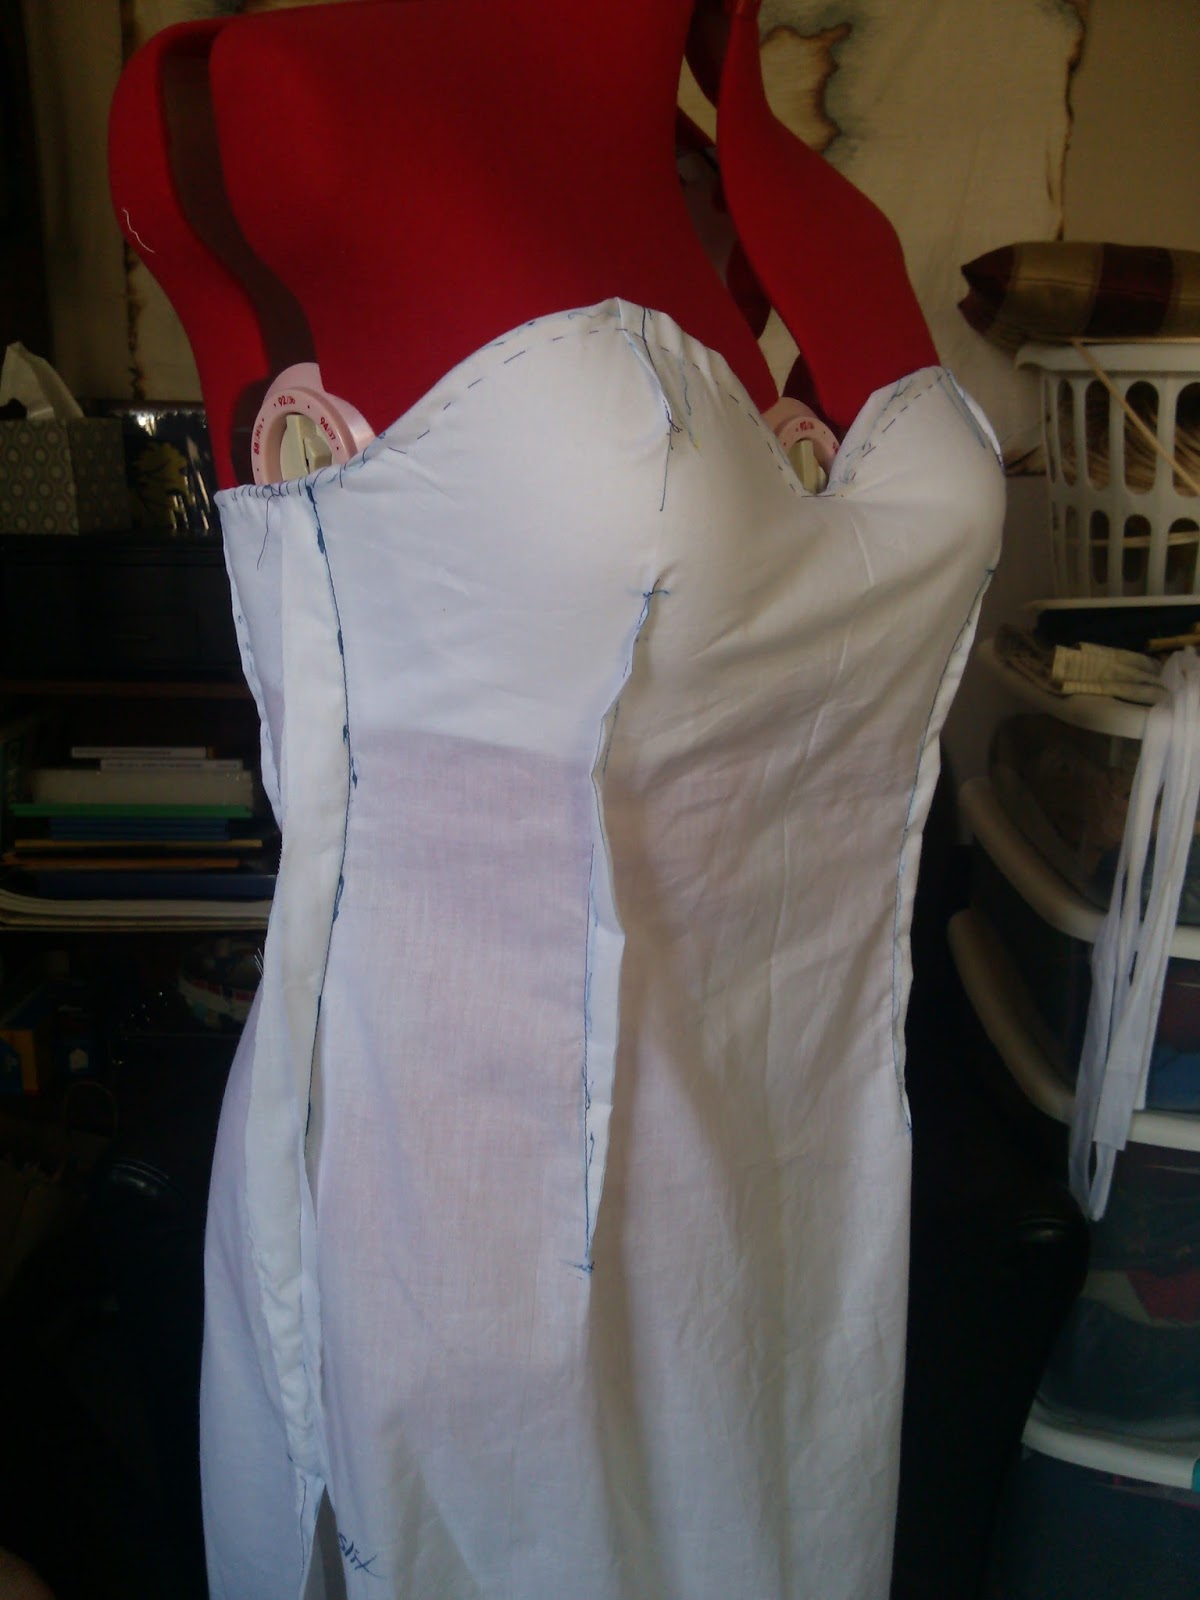
So, mid-18th century peasant garb from round about that area of the globe using what I could learn about the Acadians from the MIL and the internet (which was frustratingly little, seeing as how I don't speak French) led me to make her this:
Let's all ignore the fact that two years ago, I knew jack-all-nothing about the construction of 18th century garments.
 
 
Fast forward a couple of years and now Mom would like a short cloak to pair with her outfit, which gets a lot of wear at Acadian heritage festivals in Nova Scotia (winds off of the Atlantic are cold, I hear).  Knowing what I know now about doing my historical research, I wanted to try to make the cloak a bit more authentic than the rest of the outfit.  With the difficulties of finding information on this comparatively small ethnic group, I expanded my search a bit to include early 18th century French peasants and the more spectacularly well-research American colonies.  I struck gold with an article The Hive Online, sponsored by The Ladies of Refined Taste & Friends and Minute Man National Historical Park.  Now these are people who take their research seriously.  Several excellent articles on that site.
 
I ended up mostly following their instructions, with some deviation.  Instead of purchasing felled wool, I did my favorite trick of buying inexpensive non-worsted wool suiting (usually pretty cheap round about July) and washing it in hot water and drying in a hot dryer.  I did still need to finish the edges, though, as it wasn't quite felted enough to hold its own hem.  I cut the body of the cloak in two pieces instead of on the fold due to fabric constraints.  Each half was a quarter circle cut 3 inches in from the selvedge (3 inches to add an extra 5 inches of fullness at center back and selvedge to have one less seam that needed finishing). 


The hood is lined in 16mm habotai silk, dyed dark navy and the pieces were cut about three inches longer than the hood and against the selvedge so that the lining extended into the shoulders a bit to prevent the wool from rubbing against the neck.  The center front and hem of the cloak were finished with a strip of silk ribbon that was sewn once on the right side, then turned to the inside and sewn in tow parallel lines, which gave the cloak a bit more shape.

The Challenge: OuterwearMake one of the layers that get added on to your basic outfit to protect you, and it, from inclement weather.
Fabric: navy wool suiting (hot-washed and dried to felt it), 16mm habotai silk (dyed dark navy)
Pattern: Heavily influenced by the fantastically well-researched and detailed instructions here: http://www.thehiveonline.org/short-cloaks.htm
Year: mid-18th century
Notions: poly thread, silk ribbon, antler buttons
How historically accurate is it? I'll give it a 6 out of 10 as it's entirely machine sewn and has finished edges.
Hours to complete: Five
Total cost: $45 USD

Monday, September 23, 2013

HSF #19: Wood, Metal and Bone

From our challenger: "Cloth may be the most obvious material in historic costuming, but wood, metal, and bone are just as important to creating the right look and silhouette.  For this challenge, make anything that incorporates wood, metal, or bone." 

I decided to make an attempt at making my own buttons for this challenge, as buttons come in wood, metal AND bone.  Seeing as how buying the accoutrements necessary to pour pewter in my kitchen were a bit out of budget, I stuck with materials more readily available.  I snagged a thumb-sized stick of maple out of my wife's witling orphans and acquired a mismatched pair of antlers from my friend B. 

The supplies: a small hacksaw, dust mask, eye protection, leather gloves,
an electric drill, a wooden block, a piece of craft foam and a pair of nail files.

 I wanted to make a reasonable attempt at keeping the process as manual as possible, so I avoided pleading with friends for the use of an electric saw.  The process was cumbersome, and made my hands hurt like hell, but once I got my wife to come help, it got done.  We eyeballed sawing off disks of stick and antler that ended up being about 3/16 of an inch wide.  Once we'd established a rhythm, the bone actually cut pretty nicely.  The sticks, not so much.  They tended to break off near the end and leave jagged pieces.

Don't let this staged photo mislead you.  It took four hands in order to saw these without turning it into a complete hack job.

We ended up not having any sand paper in the house, but I sacrificed a couple of emery boards to the cause and they worked just fine.  Disks were sanded with the rough side, and then buffed until they wouldn't catch when rubbed on fabric.


The raw lot, in various states of done.
  
 I used the electric drill to drill holes in all of the buttons, 2 in the antler buttons and four in the wood.  The antler took to the drilling MUCH better than the wood.  I couldn't seem to keep the drill set where I intended and my hole distribution was pretty haphazard.  All in all, I'm considering the wood to be a nice try, but ultimate failure.


The antler buttons, however, I am terribly pleased with.  I'm thinking I'll use them on some 18th century peasant wear, perhaps in time for the outerwear challenge.

Just the facts

The Challenge: Wood, Metal and Bone
Material: Antler from white tailed deer
Pattern: none
Year: throughout history
Notions: none
How historically accurate is it? I'm giving this an A+, you don't get much more legit than buttons made of bone.
Hours to complete: about five
First worn: needs a garment to be put on first
Total cost: nothing!  Maybe three bucks to replace the emery boards


Finished antler bones (16 on left) and two origins on the right.

About that wide.

The origins of the two antlers were wicked cool looking.  Any suggestions on how to get a
shank back onto these so I could maybe put them on the front of a cloak?

Tuesday, September 10, 2013

WIP: 18th century Stays

Now, I'm a bit clumsy and it's not unusual for me to jab myself in the fingers, elbow face with a stick pin while sewing.  But I've set a three stick rule for myself: if I'm sewing along and I draw blood three times, I'm supposed to take that as a sign that I'm too tired to be doing this and should probably set the project aside and go to bed.  However, I've run into problems with attaching the bias on the 18th century stays that I'm working on.  I've been hitting three sticks within minutes of starting!  Not cool.

The first hurdle was when I was attaching the bias to the relatively tame top of the stays.  With an extra set of hands from Minion V to help hold all the awkward pieces, I was able to attach the front side of the bias tape with the sewing machine.  Score!  It looks pretty and went together in a quarter of the time.  I then folded the tape over and inserted about eleventy billion stick pins in prep of sewing down the inside by hand as I've done on other corset projects.  Then it's Labor Day weekend and a trip to my folks' house and I needed to find a safe way for the heavily pinned project to travel.  In a moment of genius, I pulled an oddly shaped scrap of leather from the stash and wrapped the stays in that.  Score!  Not only did it travel well without pins getting snagged on the inside of the duffle bag and yanking out, I was also able to drape the leather over my lap to protect my body from random jabs.   

I found a way to apply the same bit of logic when working on the tabs.  By cutting off a 6"x10" scrap of the leather, I was able to wedge it between the tabs and create a safe place to rest my hands white sewing. 
Pit of vipers, right there.  All those pins on both sides, many of which
I just could not get the points to anchor back into the layers.

SUCCESS!
Yeah, it was enough of an epiphany that I needed to share it.  These stays have been months in the making and at the rate I'm going, I'm thinking they're going to get done at about the right time to be applied to the Historical Sew Fortnightly Challenge #23: Generosity and Gratitude, as I've got a whole slew of online articles, tutorials and project diaries that I need to thank for all their help with this project.

Thursday, September 5, 2013

Self-Imposed Deadlines

So I'm working along with two current challenges, this Historical Sew Fortnightly and the Accessorizing Head-to-Toe.  While these have been great for filling out my historical wardrobe, a recent conversation with my costuming accountability buddy made me realize how I've completely been ignoring the non-historical.  We've been lax at offering each other motivation now that Costume Con has come and gone, and that's going to have to change.  The next convention I'm attending isn't until January, but I'm planning a big entry for the masquerade and with Halloween, Longest Night Ball and winter holidays in between, I need to get on top of things if I want to make it happen.

Accountability buddy pointed out that something helpful I had told her once was to keep an electronic "to do" list for costumes and to break them down into components to make them seem more easily manageable.  Sounds simple, but sometimes it's hard to look at a complete idea and fully understand what's really going to have to go into getting it done.  I keep a master list saved as a draft email in my gmail account so that I can easily access it from work (where I spend a lot of my down time thinking about costuming) or on my cell phone, wherever I may be.  Instead of just listing the costume I want to complete, I break it down into component parts, and further into major tasks.  I have a terrible habit of not attempting to do things that I don't think I can accomplish, so looking at a list that says "Queen of Hearts' doesn't inspire me to want to pick up and work on it.  But seeing it broken down into parts ( bodice, skirt, underskirt, petticoat, bloomers, crown, scepter, earrings, shoes) and then even further into pieces (bloomers: draft pattern, dye lace, stamp fabric, assemble), makes it seem more doable.  Sure, I can't cross an entire costume off the list in one weekend, but I could dye a length of fabric or cut out pattern and have it ready for the next bit of free time that comes along.  The also helps me avoid another big bad habit of mine, putting things off to the last minute.  There are so many elements of a costume that are so asininely simple (paint a small prop, glue a flower to a hat, braid that belt) that I keep putting them off as being easy to bang out at the last minute.  Well, the last minute tends to get here and then simple things turn out not-so-simple, or so many simple things bury me in a pile oh-gods-I'll-never-get-it-all-done.

So I came up with a set of bi-weekly themes and deadlines geared more towards character costuming to help the both of us get back on track.  Shared here to both increase accountability to myself, and to hopefully inspire some of you to get cracking on your own projects.  I liked the bi-weekly deadlines of the HSF, so done the same here, staggering the deadlines.

9/16 - Cover your arse (pants, skirts, lower body prosthetics)
9/30 - Get invested (shirts, vests, jackets basically anything that covers the torso)
10/14 - Big-headed (hats, head coverings, horns, ears, facial prosthetics, neck-up jewelry)
10/28 - Getting handsy (gloves, rings, sleeves)
11/11 - Playing footsie (shoes, stockings, animal feet)
11/25 - Propped up (props and weapons)
12/09 - Painting the town (any project involving paint)
12/23 - Shiny! (anything with sequins, jewels shiny or light up)
1/06 - Get presentable (fill out forms, write scripts, work on your music)
1/20 - freebie/catch-up/crunch time (Arisia is the 17-20th)

What am I doing to cover my arse?  Well, it's my bff that's getting her bum covered with a dress for a character cosplay that's been on our to do someday list for a couple of years now.  Draping is done and mockup fully assembled, so we're rolling right along with it.  Even though we have months before it would be worn anywhere, I'm using the 16th as my deadline to try to get it done. 

Here, have a teaser:

Fly-by Progress Post: HSF 18 and Head-to-Toe Hats

I had decided to participate in the Head-to-Toe Accessorizing challenge, in addition to wrapping up the year of Historical Sew Fortnightly. 

http://trystancraft.com/costume/accessorizing-head-to-toe-challenge/

 
I completed two hats or head coverings in the month of August.  The first is a black silk hat to wear with my late 1870s mourning dress and it's doubling to fill the HSF challenge #18: Re-make, Re-use & Re-fashion.  I kept putting off posting the this thing as it was a pain to try to photograph, but getting around to doing my hair up in a wig, during daylight hours when someone else is around to snap a picture just wasn't happening.  So your imagination at placing a fancy updo in place of my plastic sack covered wig stand may be required.


The Challenge: #18: Re-make, Re-use & Re-fashion: Sew something that pays homage to the historical idea of re-using, re-making and re-fashioning.
 
Fabric: Black silk velvet, black silk gauze, black habotai silk
 
Pattern: Truly Victorian 1880's Buckram Hat Frames
 
Year: 1880-ish
 
Notions: milinary wire, nylon net (basting four layers together made a passable substitute for buckram), black silk ribbon, black silk thread, and the repurposed part, black feathers (likely dyed chicken, from the looks of them) repurposed from an old feather boa that I quit using because it would stain my skin when I sweated.  And the only not black in the whole getup, a white pearl-headed pin for pinning the veil up and out of the way.
 
How historically accurate is it? Meh, I'll give it a B+.
 
Hours to complete: six
 
First worn: opportunity hasn't presented itself
 
Total cost: around about $40, but that's guessing as nothing was specifically bought FOR this project.

Made to accompany: late 1870s Mourning Gown (of which I don't have a picture in completed form.  Must be getting on with that.)

 
* * *
 
Black silk seems to be the theme for the month, as the other head covering accomplished is this snood, made of black silk velvet decorated with criss-crossed silk ribbons held in place with white faux pearls.  The headband is interlined with silk twill and the snood itself is lined in black habotai.  All of the fabrics and ribbons (save the velvet) were dyed black by me.  The ribbons were various short links of brightly colored pastels and oranges from my mother's stash from her crafting days.  I couldn't think of what to use so many short pieces of odd colors for, but overdyeing everything black worked out pretty nicely.  There is a very subtle hint of "something else" to the finished colors in the ribbons and I think that really helps add interest to the final product.
 
Luckily, the 18" diameter that I needed for the snood was
exactly how big my standing embroidery hoop is. 


The gory details:
Fabric: 18"x18" square of black silk velvet, cut down to a circle after decorating.  18"x18' circle of black silk habotai.  2"x22" strip of black silk twill.
Notions: black silk 1/8" ribbons and white faux pearls.  Black silk thread.
Hours to complete: about 6, five of white was sewing down the ribbons and pearls.  After decorating, the snood goes together fairly easily, just gather circle into a head band and go.
 
I don't really have much in the way of Medieval costume, so this is more likely going to get tossed into the bin of costume accessories to get paired with whatever black fancy dress needs a hat when historical accuracy isn't high on the list.
 
Hmm... have also realized that this now makes three separate garments which have been made out of the black silk velvet that I acquired last summer, none of which are the costume that it was intended for.  Perhaps I should be getting on with that.