Friday, March 28, 2014

HSF 6: Fairytales - 18th century short cloak

For the Fairytales challenge, I decided to make myself a Little Red Riding Hood cloak.  I used the pattern diagrammed out in Costume Close Up, partnered with the instructions from The Hive Online's discussion on short cloaks and building on what I learned from the short cloak I made last fall for my mother-in-law to wear with her Acadian costume.

The wool is re-purposed from a plain hemmed shawl that I wore with my Melisandre costume.  It had been run through the abuse of a hot wash and high heat dryer cycle to get it a bit felled and a softer, more abused look.  The lining is silk twill and it and the silk ribbon for the ties and hem facing were dyed together.  (The ribbon went into the bath first, then the twill.  But at that point, I needed to add a touch more water to keep everything submerged, and thus the lighter tone of the hood lining.)

The entire thing is hand-sewn, with a silk ribbon used as a lightweight hem facing instead of leaving the edges raw.  I doubt it's terribly historically accurate to accentuate the ties with buttons, but I had the wolf head buttons on hand and couldn't resist.


The Challenge: #6 Fairytales
Fabric: wool outer and silk twill lining
Pattern: from Costume Close Up, with modifications from The Hive Online
Year: mid to late 18th century
Notions: silk ribbon, gold tone buttons and cotton thread
How historically accurate is it? Just about as accurate as I can get.
Hours to complete: Maybe 12, I didn't really keep track.
First worn: you're looking at it
Total cost: $18 for the wool, $1 worth of silk twill, $3 worth of ribbon and $3 for the buttons.  So $25 total.

Yeah, ignore the fact that I'm in my skivvies.
I was pulling double duty and photographing an upcoming project at the same time.

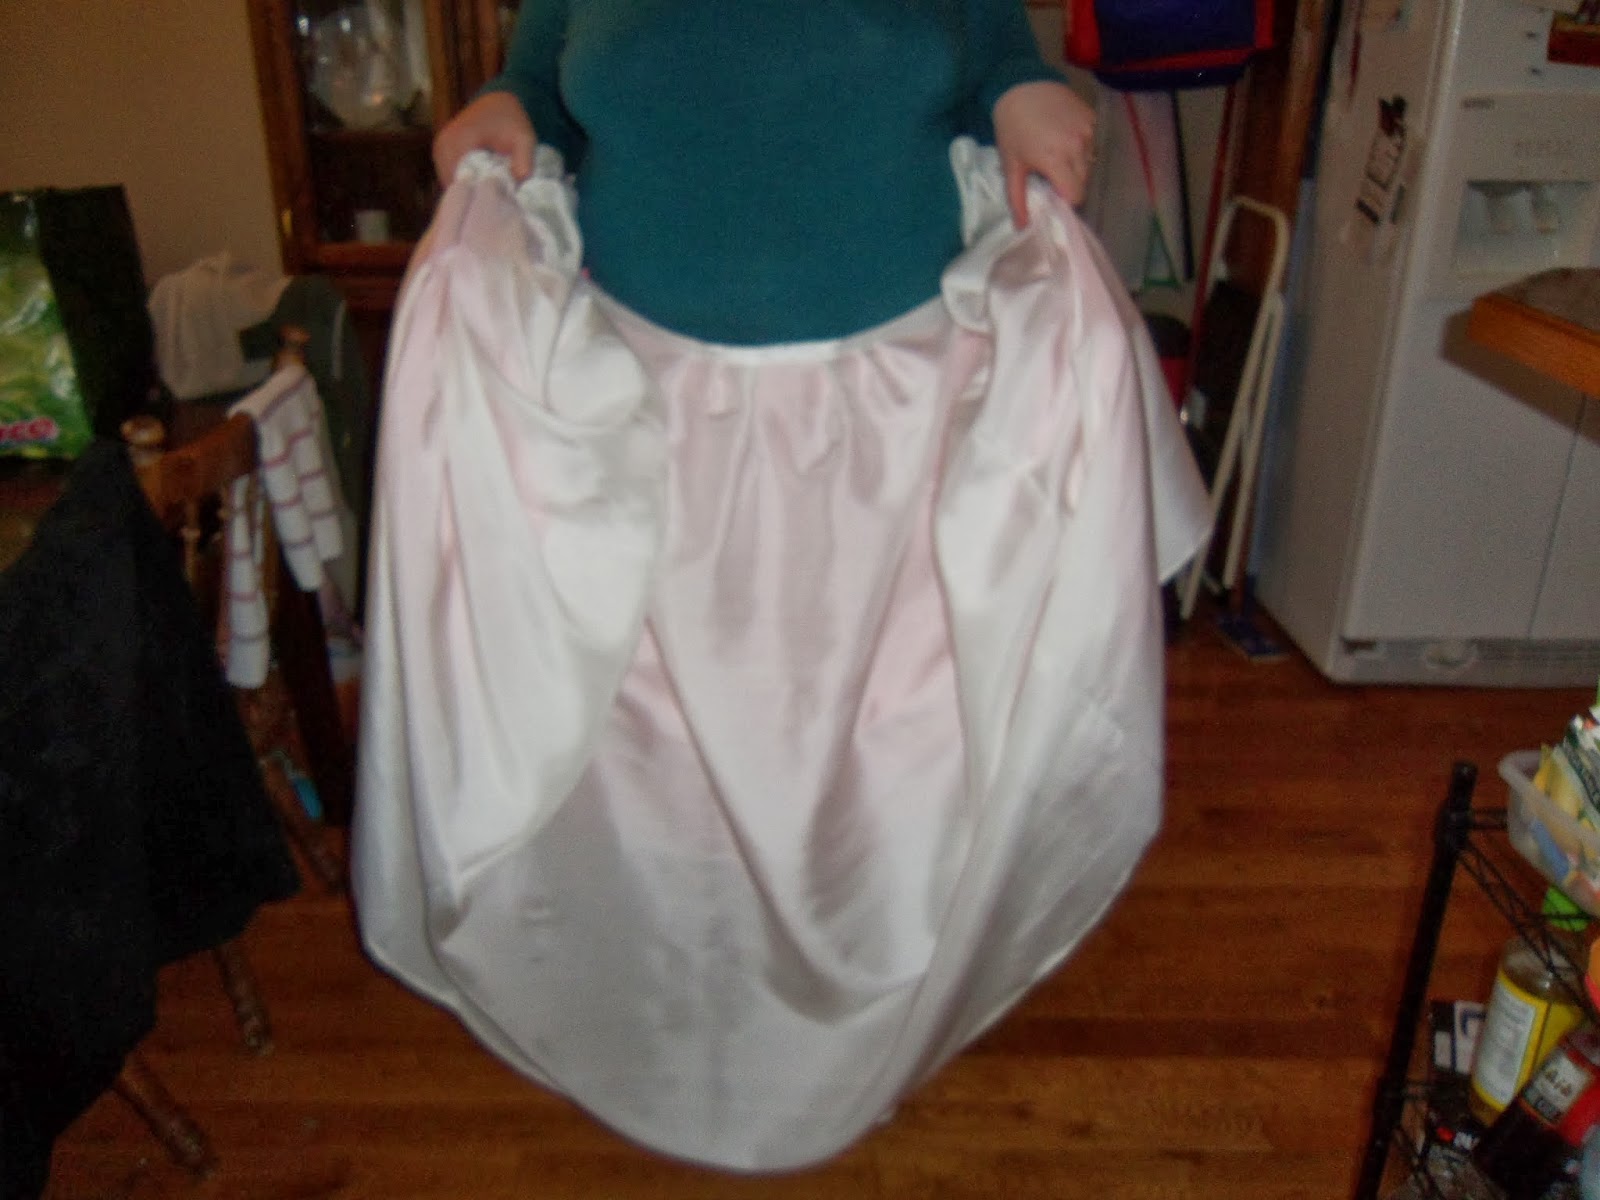
I just LOVE the way this falls over the shoulders.


Yay for an even hemline on the fist try
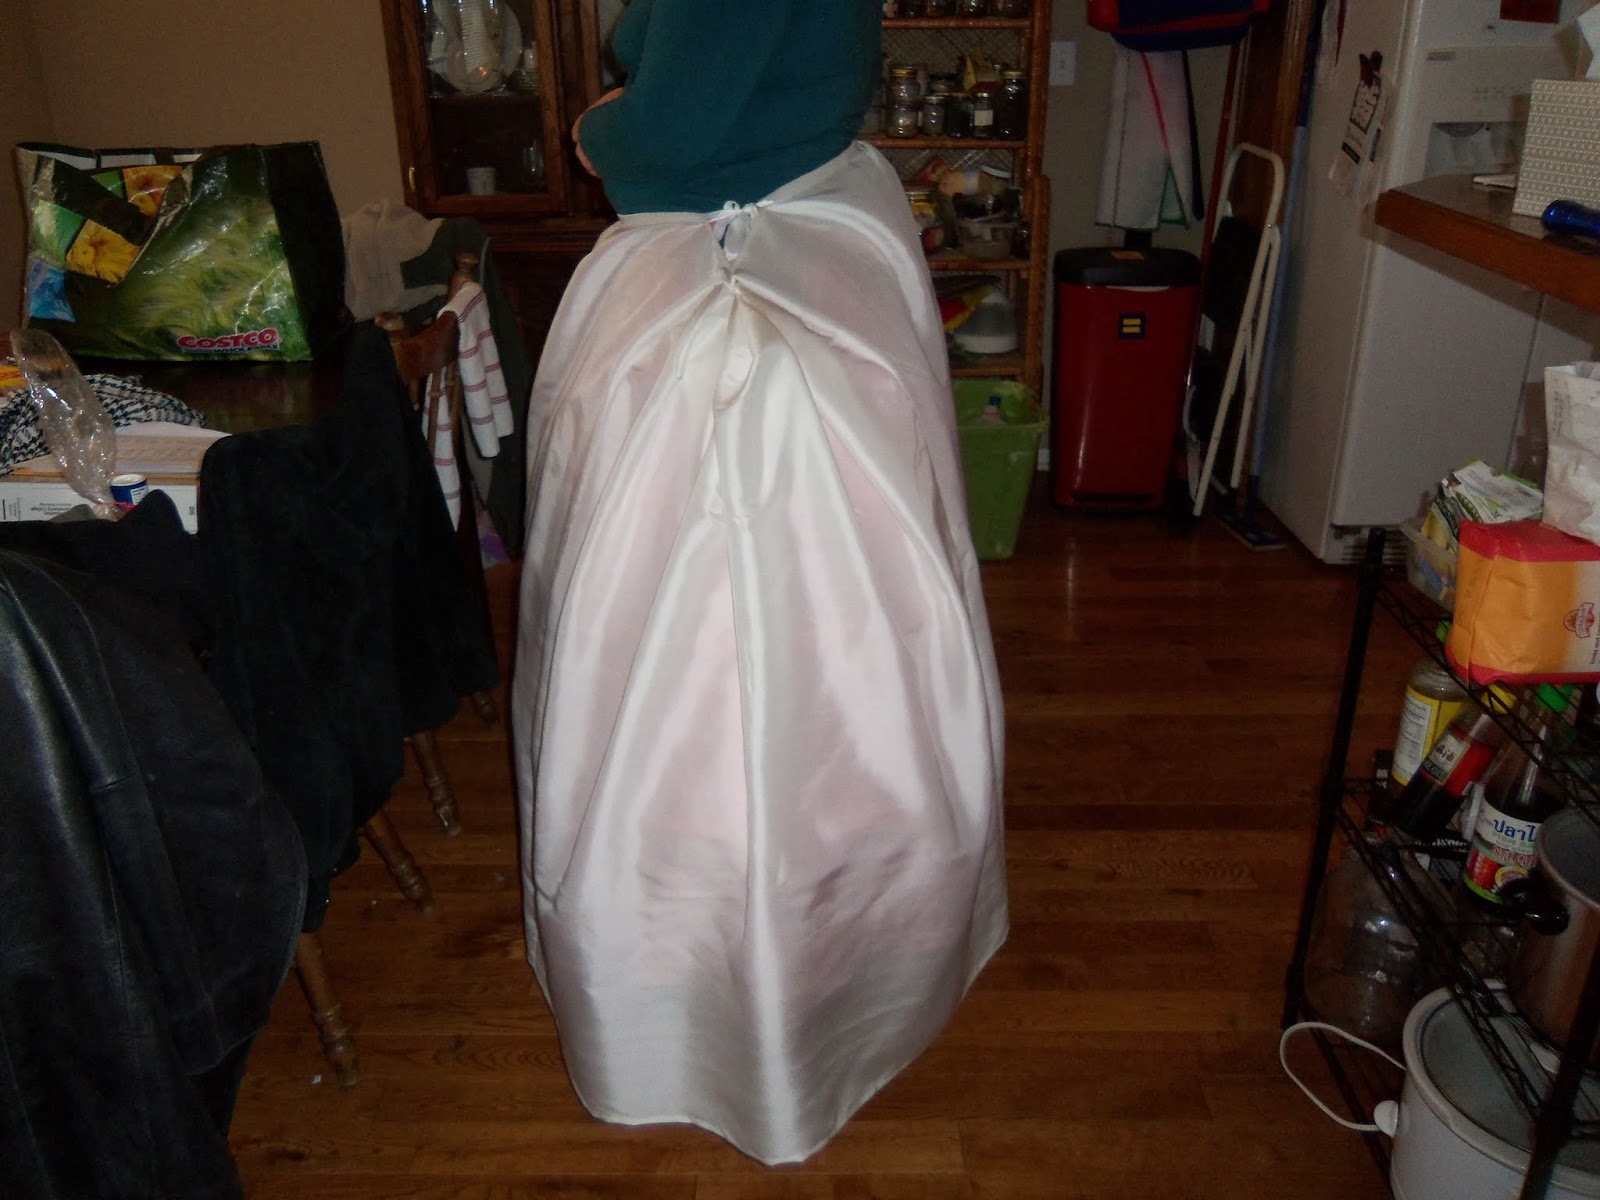
Close up of the back of the hood.  I'm still not sure I got the pleats arranged the way they were intended,
but this is what I could manage to make work.  The instructions were very insistent on there being a
correct way to do this, but not terribly clear on exactly what that way was.

Close up of the buttons and ties.

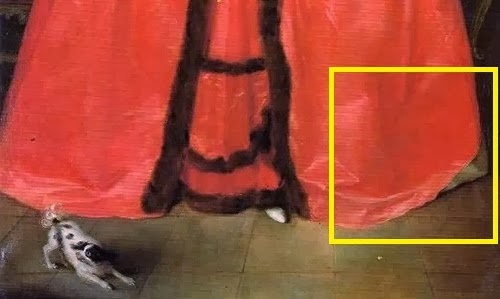
And the hem facing.  I pretty pleased with the color matching.  Even though they're not all the same intensity,
they are all the same shade and I think they go well together.

Now, to find myself a basket!

Sunday, March 16, 2014

HSF 4: Jeogori for Hanbok

I spent the weekend out at Naka-Kon, a local Japanese cultural and anime convention and I wanted to share something new I made up for my niece to wear to her Very First Con!  Ahem.  Proud aunty, much?  You betcha.

A friend and I had agreed in advance that we'd wear our hanbok together at some point over the weekend, and once it became confirmed that my 14-year-old niece was going to join us, I wanted to make one for her, too.  Cue the last minute side-lining of the court gown project to work on this.  It turns out that I'd loaned out the Folkwear hanbok pattern that I'd used, but I lucked out in that the individual pieces from my own mockup were still in the drawer.  Having know measurements, but a vague notion of my niece's dimensions, I just sewed any of the broken down panels together and then sewed a one inch fold down the center of all of the pieces.  It came out, not actually that bad.

The fabric was a yellow synthetic organza with screen printed roses in silver from the stash of fabrics that my friend D brought back for me from South Korea.  Like the other samples intended for jeogori, the fabric was sold in one length and the designs were pre-arranged specifically for that garment.  The black of the cuffs and matching chima look pretty dark in pictures, but in natural lighting, she made quite an impact.  The chima is organza over bridal satin, with the organza tucked up and stitched onto the satin base to give it that fluffy look.


What the items is: Jeogori for Korean Hanbok
The Challenge: #4 Bodice
Fabric: pale yellow synthetic organza with silver screen printed roses, synthetic black taffeta cuffs, synthetic silver satin for piping and white cotton sheeting for lining.
Pattern: Folkwear 147
Year: modern adaptation of the jacket length popular during the mid- to late- 1800s.
Notions: cotton cord for piping, black satin blanket binding for ties (shut up, I had some leftover from a Christmas present and it's stiffer than ribbon), and white tailors tape for finishing the sleeve seam and the bottom hem..
How historically accurate is it? Meh, I'm kinda stretching it with this one.  While the shape is technically fine, the materials are a purely modern adaptation.
Hours to complete: 8, but only because I let myself hand finish all of the internal seams and hem facing.
First worn: just today for the panel on Korean clothing at Naka-Kon
Total cost: while I had to make a last-minute run to get the materials for the chima, the jeogori was entirely from stash.

Sunday, March 2, 2014

HSF #4: Under it All - Petticoat for an 18th Century Court Gown

Next milestone in the 18th century court gown project is the petticoat.  Now, at first glance, the dress looks like it might have an open skirt on top of a petticoat of the same red fabric, with a bit of additional fur trim.  However, if you look closely at the far right hand hem of the dress, there's a small bit of something off white -ishsticking out there at the end.


Hmm... might have to find me a stuffed spotted dog to go with the costume.


The lovely people over on the Grand Ladies website where I first spotted this dress have hypothesized that it's a pale bit of petticoat sticking out and that, consequently, the fur-trimmed panel in the front is simply intended to create the illusion of a second petticoat underneath.  Now, I'm all about keeping it simple, and it seems that having the skirt be all one piece will not only save fabric, but also be easier to maneuver in. There's no worrying that the heavy fur will flip parts of the skirt open and look unsightly.

So, a pale petticoat it is.  I decided to keep it simple with this one and use what I had on hand.  I had eight yards of un-dyed dupioni silk left over from a cosplay project that never materialized, so I opted to use that.  Bonus points in that if I ever stop wearing this costume, I'll have large pieces of silk that I can tear out and dye to fit whatever the new project needs.  It's what they would have done back then.

On to the math.  My panniers have a 160" circumference at the bottom hoop.  For simplicity's sake, I'm going to pretend that's in a perfect circle for the next bit.  Working under the assumption that each additional petticoat is going to add 2" out from the body has worked well for me thus far in life.  If you'll remember from your geometry classes, the circumference of a circle is equal to 2πr, where r is the radius of the circle and π is Pi, (approximately 3.14).  So my pretend-it's-a-circle panniers would be have a radius of 160/2π, which is roughly equal to 25.5 inches.  Assuming that the ivory petticoat is going to stand out two inches from that, the petticoat would have a radius of 25.5 + 2 = 27.5 inches.  The circumference of this would be 2(3.14)(27.5) = 172.7 inches.

The fabric I have is 45" wide.  Assuming 1/2" seams, that leaves me with 44" of usable width per panel.  If I had 4 panels, then that would give me a circumference of 176 inches.  That sounds close enough to me.  So, four panels it is.  Now, how long should I cut those four panels of fabric?  I came across a couple of great tutorials from La Couturière Parisienne (excellent break down of the length requirements over different sizes of foundations) and The Fashionable Past (superb step-by-step instructions for the pleating that deals with all that extra fabric).  While the final dress was going to be floor length, I wanted to make sure that the petticoat was a good 2" shorter than that.  Keeping in mind that I'd be in 1" heels, and that another inch was going to get eaten up in the hem,  I decided on 44" for the raw length.  I'm trying to be careful about keeping track of the math now, because this is acting as the trial run for the outer skirt.

I used machine stitching to assemble the panels and attach them to the waist band, then hand stitching to finish the hem, waist ties and the top of the side pleats.  The lengthwise seams were pressed open and the selvages left as is.  Openings were left on each side to access the pockets, and these seams were turned under twice and finished with a running back stitch.  The hem took about 3 hours of hand sewing to do, but it was a simple stitch and kind of meditative.  I figure that some people can spend 3 hours watching tv in a single night, so I don't consider that time wasted at all.

From the front.  You can still see a bit of hoop showing through, but the pleats stacking up on the ends should offer enough cushioning where I'll need it.  I'll wait and see how the fashion fabric drapes over it before I decide if I need to make another petticoat to go under this one.  It's hard to tell from this angle, but my friend crawled around on the floor and assured me that there's about a hand's width gap between the hem and the floor.

Side view.  While it't not quite as narrow a depth as historical references, neither am I.  So I'll call this good.

And THAT is how I plan to get through doors in this costume.  Will just have to make sure that the chemise is long enough to provide some modesty in the elevator.


Just the facts
What the items is: petticoat for an 18th century court gown
The Challenge: Under it All
Fabric: ~ 5 yards of un-dyed silk dupioni
Pattern: La Couturière Parisienne and The Fashionable Past
Year: 1770s
Notions: poly thread for the panel assembly, gold silk thread for the hem, un-dyed rayon ribbon for the waise binding and ties
How historically accurate is it? 9/10
Hours to complete: 6, about half of which was spent hand-sewing the hem
Total cost: $55 US